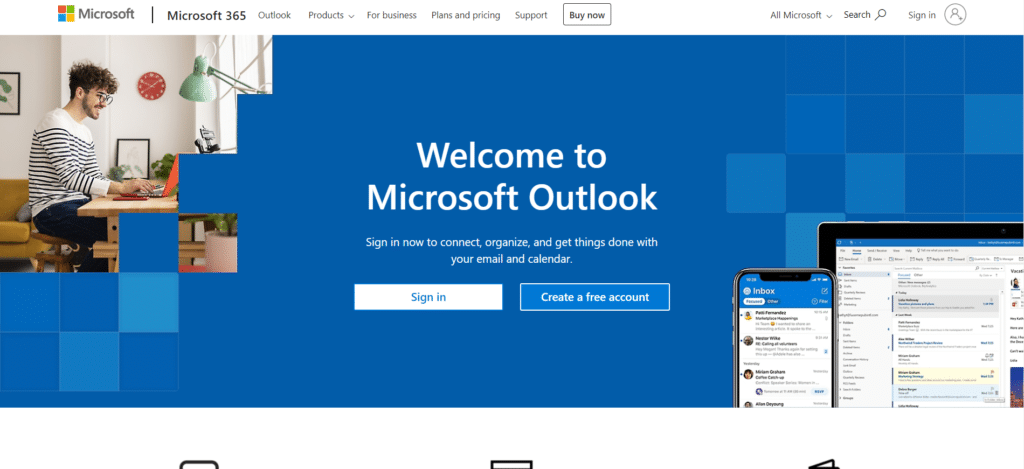
To send bulk emails from Outlook, it refers to the process of efficiently and effectively sending a large number of emails to multiple recipients simultaneously. It involves organizing contacts into groups or lists within the Outlook application, allowing for streamlined communication and improved productivity. By following specific steps within Outlook, such as creating contact lists and selecting the desired recipients, users can simplify the task of sending bulk emails and reach a larger audience with ease.
“Embrace the power of words, for within them lies the ability to captivate minds, inspire hearts, and create a lasting impact in the world.”
“Words have the power to shape worlds.”
Step 1: Organize your contacts by creating a group.
To simplify the process of bulk emailing, follow these steps:
- Open your Outlook desktop app or web app.
- Navigate to the People tab.
- Select “New contact list” to create a new group.
- In the pop-up window, give the group a name and choose the contacts to include.
Note: If you’re using the latest version of Outlook for Mac, you’ll need to switch to an older version to create a contact list. Simply uncheck the “New Outlook” option at the top of your screen

Step 2: Craft your email message.
When it comes to composing an email for a bulk campaign, whether it’s for email marketing or any other type of bulk campaign, the process closely resembles that of creating a single-email campaign. To begin, access your Outlook email account and click on “New Mail” or “New Message.” From there, you can effortlessly write or paste the email copy into the body of the email, just as you would for a single-email campaign.
Step 3 – Set a contact list as the email recipient
Once you have prepared your email copy, the next step is to determine the recipients for your bulk email campaign. This is where the previously created Outlook contact list becomes useful. Simply paste the name of the list into the “To” field, ensuring that all the contacts included in the list become recipients of your bulk campaign.
Step 4: Perform a final review and send the email.
After completing the body of the email and setting up the recipients list, there are a few crucial steps remaining before launching your bulk email campaign:
- Ensure compliance with the latest sender requirements set by Google and Yahoo.
- Conduct a final review of the email content, either manually or using an email testing tool, to ensure its appearance meets your expectations.
- Once you are satisfied with the email’s content and appearance, confidently click the Send button.
- Keep in mind that the time required to deliver the email may vary depending on the size of your contact list, ranging from a few seconds to a couple of minutes.
By conducting this final review, adhering to sender requirements, and confirming the email’s readiness, you can proceed to launch your bulk email campaign successfully.
How to send bulk emails from Outlook and hide recipients.
Why should you be hiding recipients?
In the previous section, we emphasized the importance of avoiding the use of the To field when defining recipients for your bulk email campaigns. Let’s now delve into the reasons why using the To field can be problematic. Here’s a breakdown, focusing on the keyphrase:
- Violation of data protection and privacy regulations: By exposing recipient email addresses, you risk breaching laws like GDPR and raising concerns among recipients about the potential misuse of their information by third parties.
- Vulnerability to spammers: Exposing email addresses in bulk campaigns provides an opportunity for spammers to harvest the information and exploit it for unsolicited and malicious activities.
- Lack of professionalism: Email marketers prioritizing contact privacy understand that exposed recipient lists can create clutter and give the impression of unprofessionalism. Recipients may not view the sender as someone credible or trustworthy.
- Potential for “reply all” disasters: While the “reply all” feature can be useful in specific contexts, it is not suitable for bulk campaigns. Irrelevant responses can clutter inboxes and disrupt communication among recipients.
- Red flags for email service providers and spam filters: Bulk emails with exposed recipient lists not only appear messy but also raise suspicions of spam-like behavior. Email service providers and spam filters may divert these emails to spam folders instead of delivering them to the main inbox.
By understanding these issues, you can make informed decisions about how to properly manage recipient lists in your bulk email campaigns, ensuring compliance, professionalism, and effective email delivery.
Step 1 – Follow and complete steps 1 and 2 from the previous section
As one might assume, sending a bulk email in Outlook without showing addresses entails essentially the same steps we described in “How to send bulk emails from Outlook”, with a few minor differences.
So, as the first half of the process, repeat the following from the previous section:
- Put your contacts in a group
- Compose the emai
Step 2: Set the contact list as the email recipient using BCC.
To avoid the issues associated with exposing recipient email addresses, it is recommended to use the Blind Carbon Copy (BCC) field when sending bulk emails. Follow these steps:
- Open your Outlook email account and start a new email.
- Locate the BCC field, which is usually hidden by default. If you don’t see it, look for an option to show the BCC field in your email client settings.
- Copy and paste the name of the contact list you created earlier into the BCC field.
- By using BCC, the email will be sent individually to each recipient, ensuring their privacy and preventing their addresses from being exposed to others.
- Proceed with composing the rest of the email, including the subject line, email copy, and any necessary attachments.
- Once the email is ready, perform a final review and send it confidently.
By setting the contact list as the recipient in the BCC field, you can maintain privacy, comply with data protection regulations, and create a more professional and secure bulk email campaign.
Step 3: Follow and complete Step 5 from the previous section.
Referring back to the previous section, Step 5 discussed conducting a final review before sending your bulk email campaign. To ensure a successful and professional campaign, follow these steps:
- First, ensure that you comply with the latest sender requirements from Google and Yahoo to maintain deliverability and avoid potential issues.
- Next, carefully inspect your email, either manually or using an email testing tool, to ensure it appears as intended and is free of errors.
- Once you are satisfied with the email’s content, formatting, and overall appearance, proceed to the next step.
- Click the “Send” button to initiate the delivery of your bulk email campaign.
- Depending on the size of your contact list, the delivery process may take a few seconds to a couple of minutes.
By following these steps, you can confidently complete the final review and send your bulk email campaign, ensuring its quality and successful delivery to your recipients.
How to send personalized bulk emails from Outlook
When it comes to sending bulk emails, personalization can significantly enhance engagement and effectiveness. By utilizing Outlook’s features, you can easily send personalized emails to multiple recipients. Here’s a step-by-step guide on how to accomplish this:
Step 1: Prepare your data source:
Before sending personalized bulk emails, you need a data source containing recipient information. This can be a spreadsheet, database, or any structured file. Ensure that the data is organized and includes relevant fields such as names and email addresses.
Step 2: Create an email template:
Craft an email template that can be customized for each recipient. Include variables or placeholders for the personalized data, such as the recipient’s name or any other relevant information. Outlook supports various formatting options, so be creative in designing an engaging template.
Step 3: Access the Mailings tab:
In Outlook, navigate to the Mailings tab, which contains the necessary tools for performing a mail merge. This tab may vary depending on the Outlook version you are using, but it typically appears in the ribbon.
Step 4: Select the recipients:
Choose the option to “Select Recipients” or “Use an Existing List” from the Mailings tab. Locate and import your prepared data source. Outlook will display the recipient list, allowing you to verify and make any necessary adjustments.
Step 5: Insert personalized fields:
In the email template, position the cursor where you want the personalized data to appear. From the Mailings tab, select the appropriate field or variable to insert. This will dynamically populate the specific recipient’s information in each email.
Step 6: Preview and refine:
Before sending the bulk emails, preview a few samples to ensure that the personalization is working correctly. Check if the variables are replaced with the respective recipient data. Make any refinements or adjustments as needed to perfect the email content.
Step 7: Send the personalized bulk emails:
Once you are satisfied with the preview, it’s time to send the personalized bulk emails. Click the “Finish & Merge” button from the Mailings tab and choose the “Send Email Messages” option. Outlook will process the personalized emails and send them to each recipient in your list.
By following these steps, you can leverage Outlook’s capabilities to send personalized bulk emails efficiently. Personalization enhances engagement, improves response rates, and ensures that your recipients feel valued. Take advantage of Outlook’s mail merge feature to create impactful and effective email campaigns.
Hostinger: Affordable and reliable web hosting for individuals and businesses worldwide. User-friendly interface, powerful features, and excellent customer support for a seamless website experience.
To increase the visibility of your blog posts, you can employ various strategies. Firstly, optimize your content for search engines by incorporating relevant keywords, writing descriptive meta tags, and using appropriate headings. Additionally, promote your blog posts on social media platforms to reach a wider audience. Engage with your readers through comments and encourage them to share your content. Lastly, consider collaborating with other bloggers or websites in your niche to gain exposure through guest posting or backlinking.
Yes, maintaining a consistent blogging schedule is crucial for several reasons. Firstly, it helps you build a loyal readership by providing them with fresh and valuable content on a regular basis. Consistency also plays a significant role in search engine optimization (SEO), as search engines tend to favor websites that consistently publish high-quality content. Moreover, a consistent schedule helps you stay organized and motivated, ensuring that you consistently deliver content to your audience.
There are multiple ways to monetize your blog. One common method is through display advertising, such as Google AdSense, where you earn revenue based on the number of ad impressions and clicks. Affiliate marketing is another popular option, where you promote products or services and earn a commission for each sale or lead generated through your referral. You can also create and sell your own digital products, such as e-books or online courses. Sponsored content, brand partnerships, and sponsored reviews can also generate income. It’s important to select monetization methods that align with your audience and maintain transparency and authenticity in your approach.


Pingback: Money Online: Unleashing Your Digital Potential